This article describes how to customize the body of an SMS message intended for customers.
U17
To customize an SMS template:
- Log in to the LiveVox Portal.
- On the Configure tab, click Messaging > Messages.
The Messages window appears. - In the Message(s) field, select the message containing the SMS message whose template you want to customize.
- On the General tab, double-click the SMS message row.
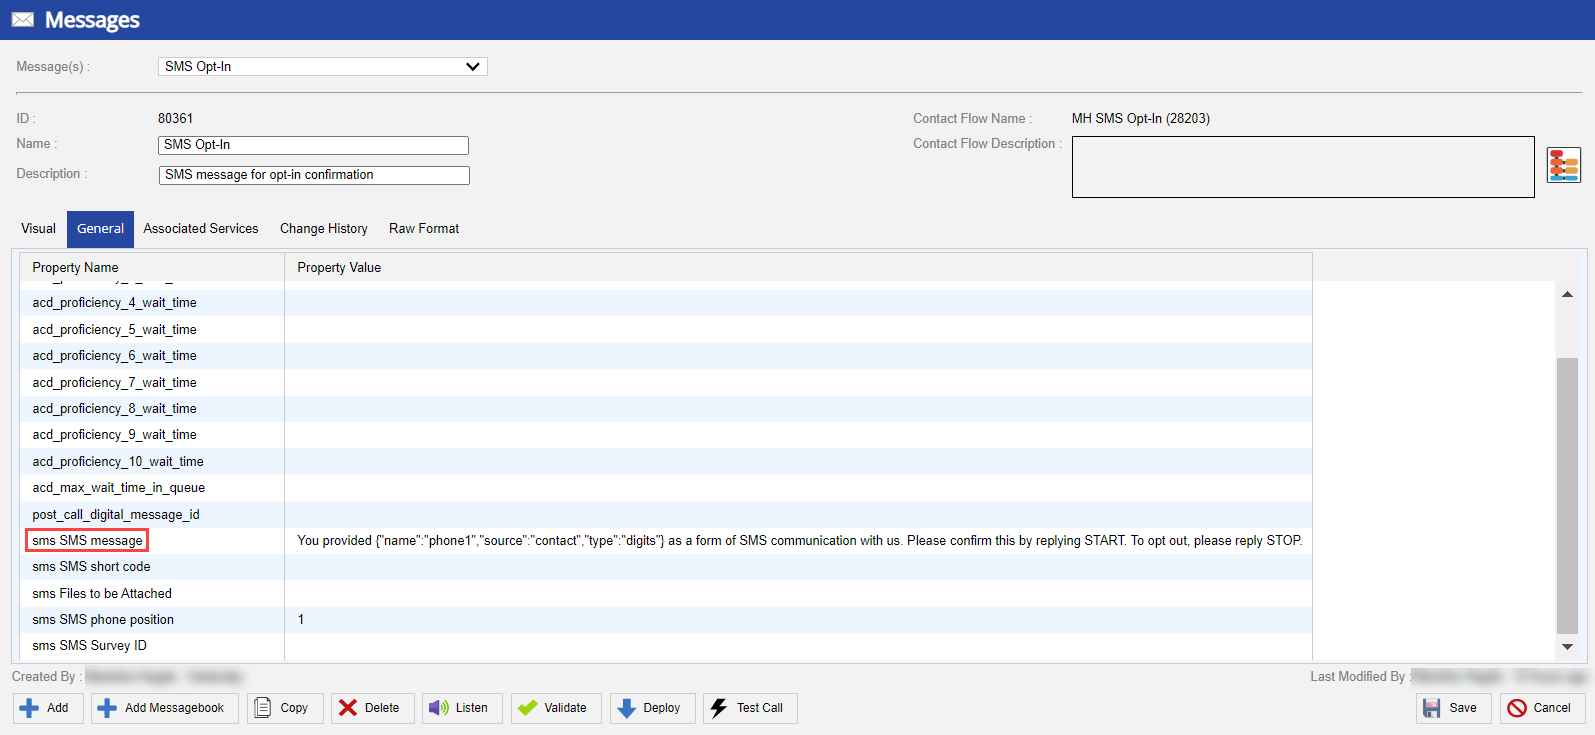
- The sms_message window appears.
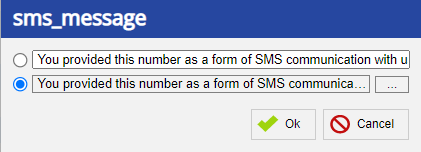
- Click the ellipsis icon. The Expression Builder window appears.
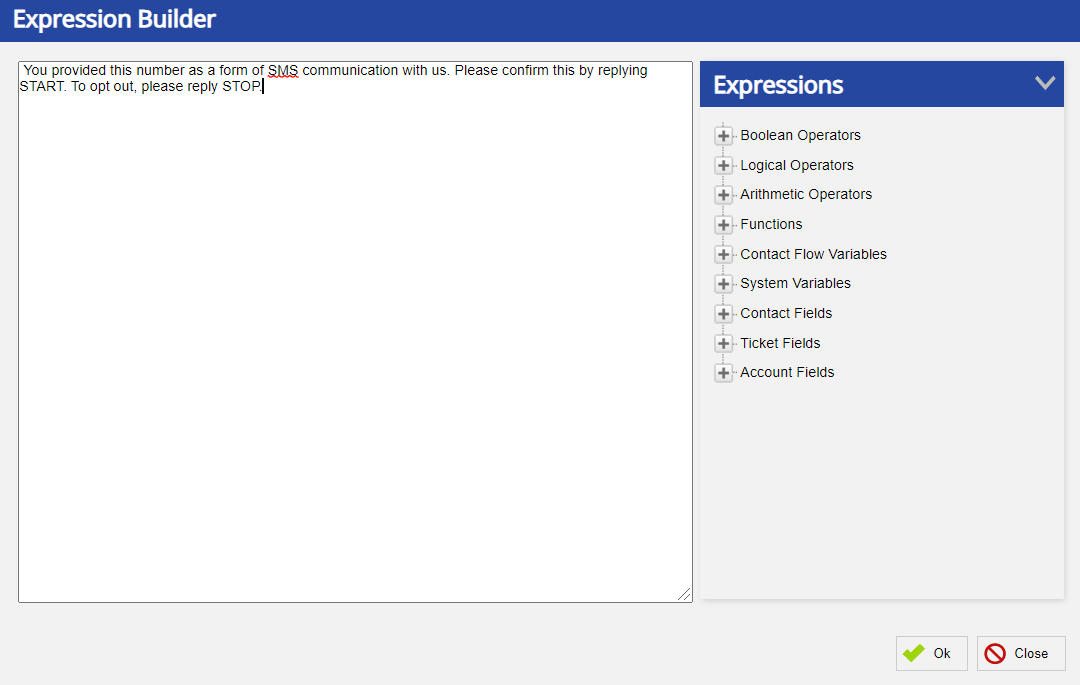
- Enter or modify the SMS message.
- To add an account, contact, or ticket field to the message:
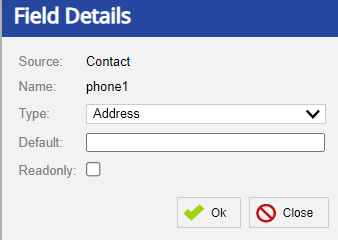
- In the Expressions section, click the plus icon next to Account Fields, Contact Fields, or Ticket Fields, and then double-click the required field. The Field Details window appears.
-
Optional: Specify values in the following fields:
-
Type: Select the data type of the field. If you do not know the data type, retain the default value, Address.
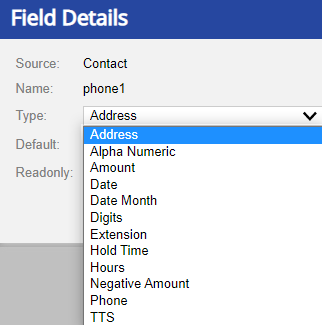
- Default: Enter the default value to be displayed in the field if the field is blank.
-
Type: Select the data type of the field. If you do not know the data type, retain the default value, Address.
- Click Ok. The field appears within the message. You can move the field to where you want it to appear within the message.
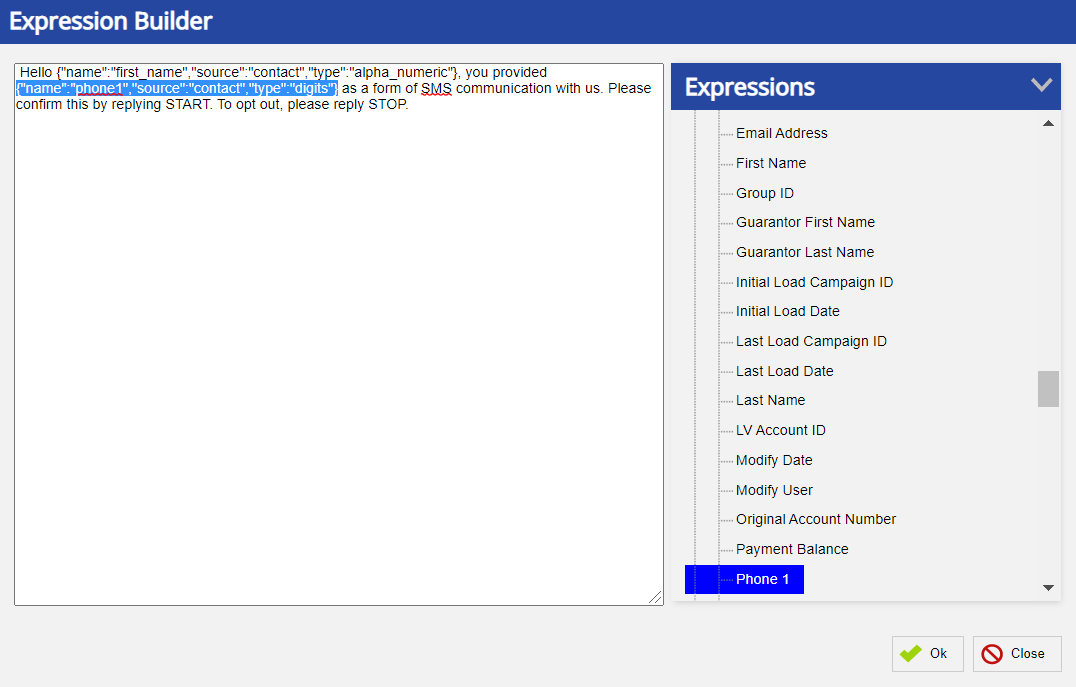
- In the Expressions section, click the plus icon next to Account Fields, Contact Fields, or Ticket Fields, and then double-click the required field. The Field Details window appears.
- To add an expression to the message, in the Expressions section, click the plus icon next to the appropriate categories, and then double-click the options that form the required expression. The expression appears within the message.
- Click Ok, and then, in the Messages window, click Save. You have customized the SMS template.
LV19 and Fall 23
To customize an SMS template:
- Log in to the LiveVox Portal.
- On the Configure tab, click Messaging > Messages.
The Messages window appears. - In the Filter field, enter SMS. All SMS messages are displayed.
- Double-click the SMS message row.

- The sms_message window appears.
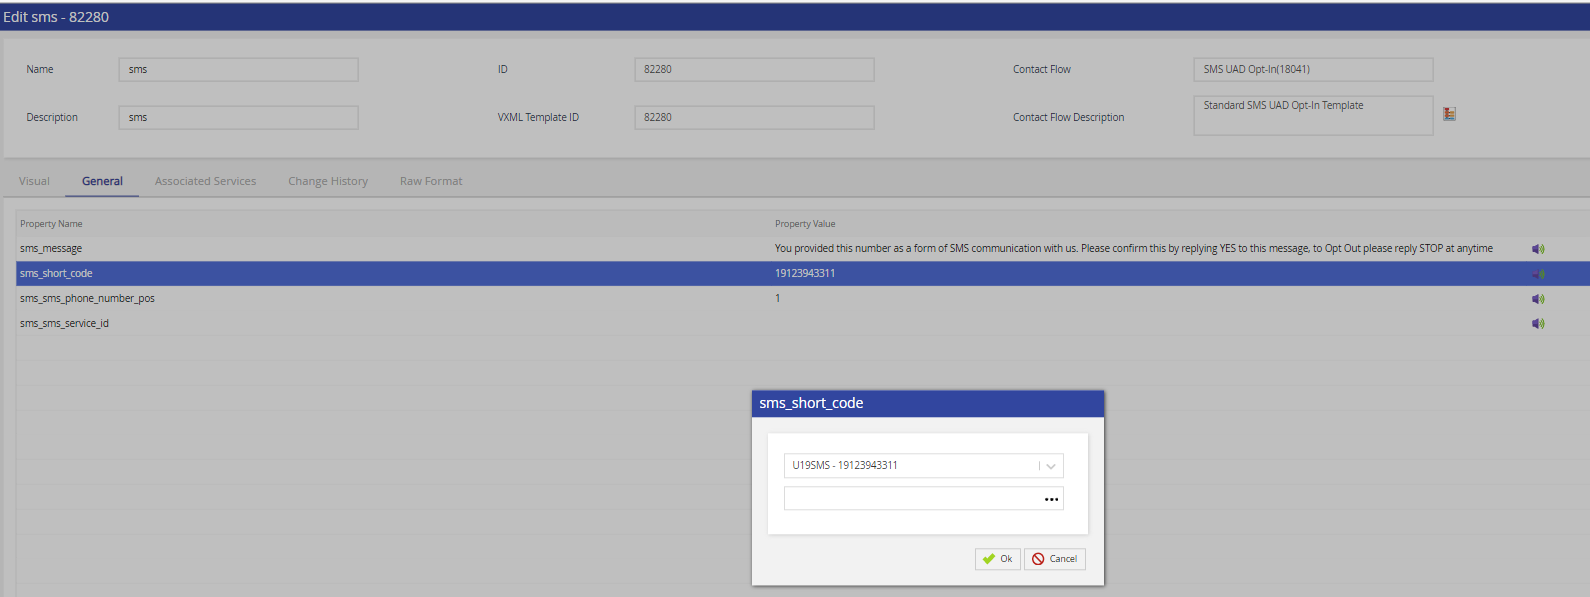
- Click the ellipsis icon. The Expression Builder window appears.
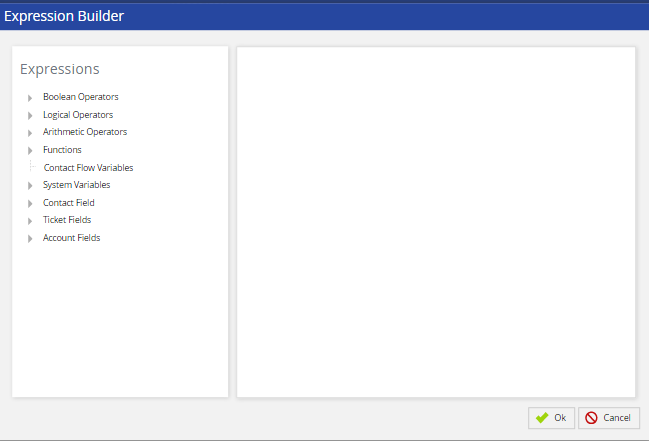
- Enter or modify the SMS message.
- To add an account, contact, or ticket field to the message:
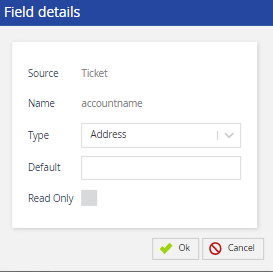
- In the Expressions section, click the plus icon next to Account Fields, Contact Fields, or Ticket Fields, and then double-click the required field. The Field Details window appears.
-
Optional: Specify values in the following fields:
-
Type: Select the data type of the field. If you do not know the data type, retain the default value, Address.
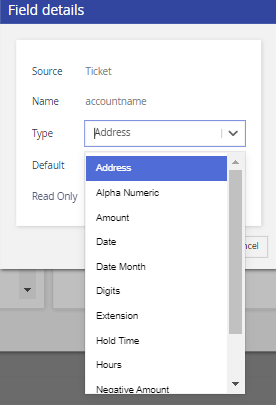
- Default: Enter the default value to be displayed in the field if the field is blank.
-
Type: Select the data type of the field. If you do not know the data type, retain the default value, Address.
- Click Ok. The field appears within the message. You can move the field to where you want it to appear within the message.
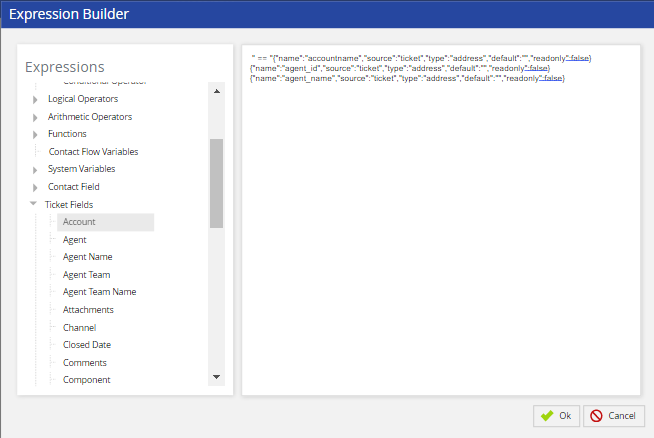
- In the Expressions section, click the plus icon next to Account Fields, Contact Fields, or Ticket Fields, and then double-click the required field. The Field Details window appears.
- To add an expression to the message, in the Expressions section, click the plus icon next to the appropriate categories, and then double-click the options that form the required expression.
The expression appears within the message. - Click Ok, and then, in the Messages window, click Save.
You have customized the SMS template.