
After downloading the Agent Desktop Native (ADN) application, you can install the ADN application on your system by following one of the procedures below depending on the platform that you use:
ADN 7.6.1 and ADN 7.7
Installing the ADN Application in Windows
To install the ADN application on a Windows system, use the following procedure:
- From the Download folder, run the agent-desktop-native-<version>.exe file to launch the installer. The following message appears.
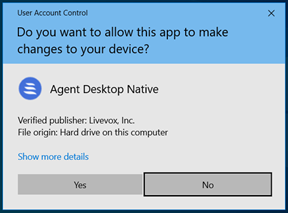
- Click the Yes button to begin the installation process. An Agent Desktop Native Setup window appears.
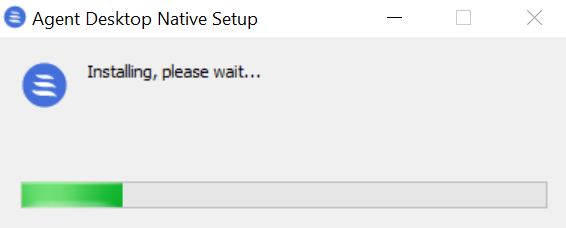
- The application is installed on your local machine. You can launch the Agent Desktop Native application from the applications folder, or the icon that appears on your desktop:

Installing ADN Application Using the MSI Package
To install ADN on many systems at once, an administrator can use the Microsoft Software Installer (MSI) package that supports provisioning using the config.mst and config.json files.
Info
- This type of installation applies only to the Windows platform.
- Contact the LiveVox Customer Care Team for the MSI package required to install the Agent Desktop Native application.
To install the ADN application using the MSI package, complete the following steps:
- Copy the Microsoft installer package ADN 7.6.1.msi (for ADN 7.7 version use ADN 7.7.msi) and config.mst file to a specific folder. For example, C:\temp\ADNInstall\
- Create the config.json file using Notepad. Save the file in the same folder and add {"clientCode":"Value"}to the file. Update the Value field with your appropriate Client code. For example, {"clientCode":"DocU17"}.
- Open the Windows cmd prompt and go the MSI package directory. For example, cd C:\temp\ADNInstall\.
- Execute the following command, as per the required version:
msiexec /i agent-desktop-native-7.6.1.msi TRANSFORMS=config.mst
or
msiexec /i agent-desktop-native-7.7.0.msi TRANSFORMS=config.mst
Installing the ADN Application on a Mac
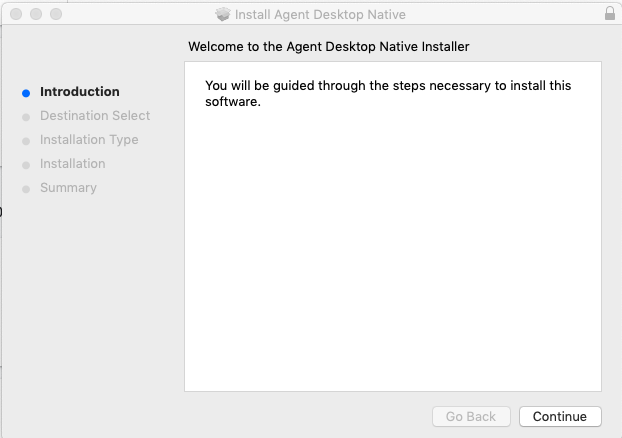
- After downloading the ADN application to the Downloads folder, run the .pkg file to launch the installer.
- Follow the installation on-screen instructions to complete the installation process.
After the installation process is complete, launch the ADN application from the applications folder.
ADN 8.0
Installing the ADN Application in Windows
To install the ADN application on a Windows system, use the following procedure:
- From the Download folder, run the agent-desktop-native-<version>.exe file to launch the installer. The following message appears.
- Click the Yes button to begin the installation process. An Agent Desktop Native Setup window appears.
- The application is installed on your local machine. You can launch the Agent Desktop Native application from the applications folder, or the icon that appears on your desktop:
Installing ADN Application Using the MSI Package
If the Windows administrator prefers to manage bulk installations and upgrades rather than allowing agents to self-service, an MSI package is available for use with typical administration and automation tools. Additionally, you can customize the MSI Transforms (MST) package to pre-populate the client code and other configuration information. The following is an example of using the MSI with an MST and a custom config.json file, to perform a preconfigured administrator install of ADN.
Info
- This type of installation applies only to the Windows platform.
- Contact the LiveVox Customer Care Team for the MSI installer package and the MST overlay. For contact information, go to the LiveVox Customer Care Contacts section in this document.
To install the ADN application using the MSI package, complete the following steps:
- Copy the Microsoft installer package ADN 8.0.msi and config.mst file to a specific folder. For example, C:\temp\ADNInstall\
- Create the config.json file using Notepad. Save the file in the same folder and add {"clientCode":"Value"}to the file. Update the Value field with your appropriate Client code. For example, {"clientCode":"DocU17"}.
- Open the Windows cmd prompt and go the MSI package directory. For example, cd C:\temp\ADNInstall\.
- Execute the following command, as per the required version:
msiexec /i agent-desktop-native-8.0.0.msi TRANSFORMS=config.mst
Info
- After a successful installation, you should find the custom preconfigured config.json in C:\Program Files\Agent Desktop Native.
- The file in this location provides the default settings for ADN, along with any user-level config adjustments, which are saved into C:\Users\username\AppData\Roaming\Agent Desktop Native on a per-user basis.
Installing the ADN Application on a Mac
- After downloading the ADN application to the Downloads folder, run the .pkg file to launch the installer.
- Follow the installation on-screen instructions to complete the installation process.
After the installation process is complete, launch the ADN application from the applications folder.
ADN 10.0
Installing the ADN Application in Windows
To install the ADN application on a Windows system, use the following procedure:
- From the Download folder, run the agent-desktop-native-<version>.exe file to launch the installer. The following message appears.
- Click the Yes button to begin the installation process. An Agent Desktop Native Setup window appears.
- The application is installed on your local machine. You can launch the Agent Desktop Native application from the applications folder, or the icon that appears on your desktop:
Installing ADN Application Using the MSI Package
If the Windows administrator prefers to manage bulk installations and upgrades rather than allowing agents to self-service, an MSI package is available for use with typical administration and automation tools. Additionally, you can customize the MSI Transforms (MST) package to pre-populate the client code and other configuration information. The following is an example of using the MSI with an MST and a custom config.json file, to perform a preconfigured administrator install of ADN.
Info
- This type of installation applies only to the Windows platform.
- Contact the SmartReach Customer Care Team for the MSI installer package and the MST overlay. Contact information: 24-Hour Customer Care Line: (888) 477-3448 or
to submit a ticket, please reach out through our Community platform at https://community.niceincontact.com/s/.
To install the ADN application using the MSI package, complete the following steps:
- Copy the Microsoft installer package ADN 8.0.msi and config.mst file to a specific folder. For example, C:\temp\ADNInstall\
- Create the config.json file using Notepad. Save the file in the same folder and add {"clientCode":"Value"}to the file. Update the Value field with your appropriate Client code. For example, {"clientCode":"DocU17"}.
- Open the Windows cmd prompt and go the MSI package directory. For example, cd C:\temp\ADNInstall\.
- Execute the following command, as per the required version:
msiexec /i agent-desktop-native-8.0.0.msi TRANSFORMS=config.mst
Info
- After a successful installation, you should find the custom preconfigured config.json in C:\Program Files\Agent Desktop Native.
- The file in this location provides the default settings for ADN, along with any user-level config adjustments, which are saved into C:\Users\username\AppData\Roaming\Agent Desktop Native on a per-user basis.
Installing the ADN Application on a Mac
- After downloading the ADN application to the Downloads folder, run the .pkg file to launch the installer.
- Follow the installation on-screen instructions to complete the installation process.
After the installation process is complete, launch the ADN application from the applications folder.