
U17
To rename a service:
- Log in to the LiveVox Portal.
- On the Configure tab, click Services > Services.
The Services window appears. - In the Call Center field, select the call center containing the service that you want to rename.
- In the Service field, select the service that you want to rename.
- On the General tab, in the Name field, enter a new name for the service.
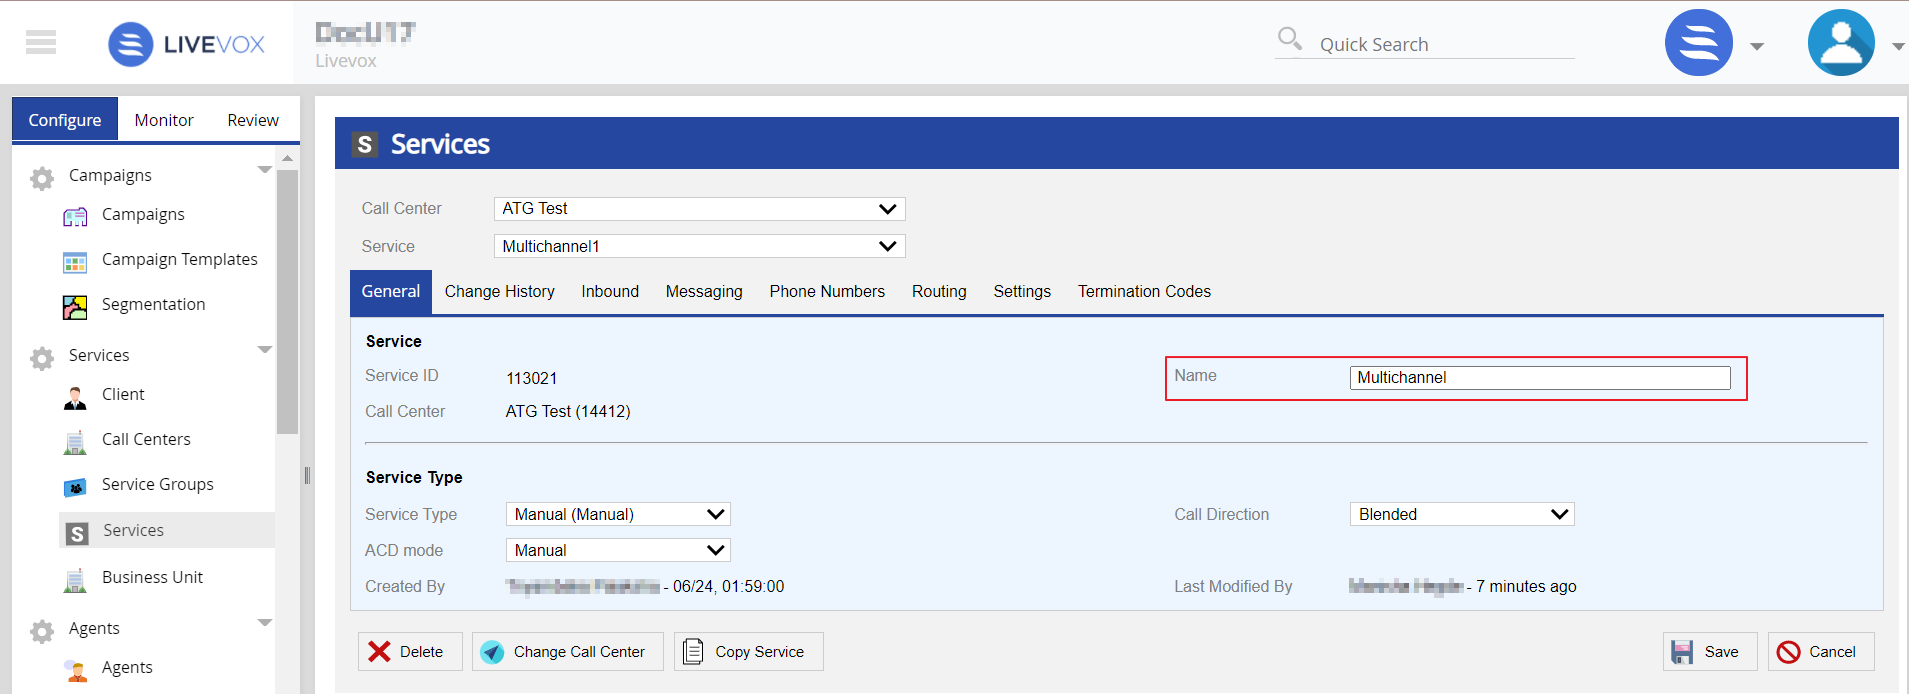
- Click Save.
The service is renamed.
LV19 and Fall 23
To rename a service:
- Log in to the LiveVox Portal.
- On the Configure tab, click Services > Services.
The Services window appears.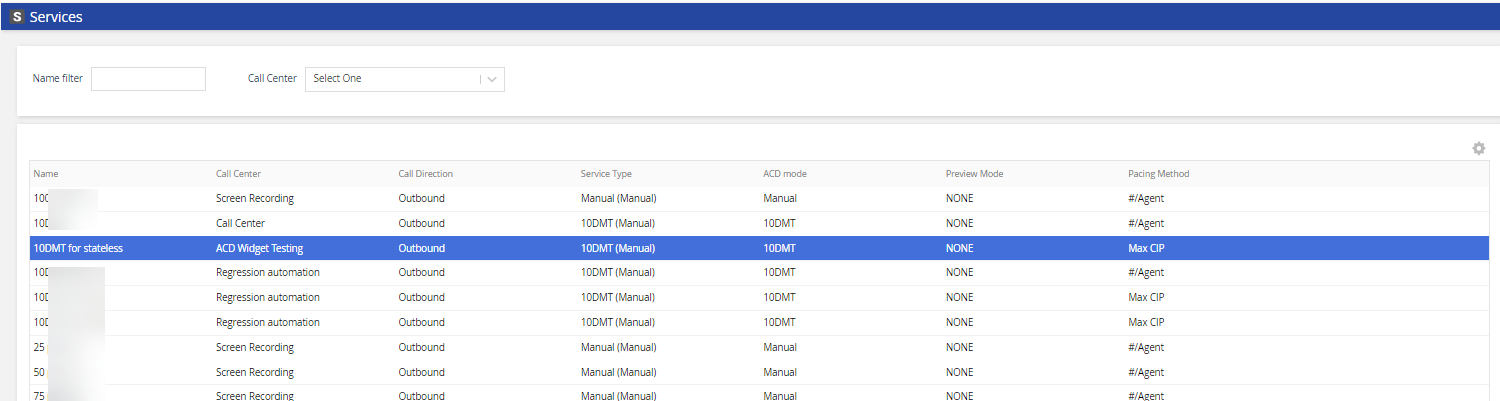
- In the Call Center field, select the call center containing the service that you want to rename.
- Select the service that you want to rename and double-click.
- On the General tab, in the Name field, enter a new name for the service.

- Click Save.
The service is renamed.
Fall 24
To rename a service:
- Log in to the SmartReach Portal.
- On the Configure tab, click Services > Services.
The Services window appears.
- Select the service that you want to rename and double-click.
- On the General tab, in the Name field, enter a new name for the service.

- Click Save.
The service is renamed.