
The Phone Numbers editor allows users to view all LiveVox-owned phone numbers within the client’s LiveVox Portal (including Local Caller ID (LCID) numbers), and identify, assign, modify, and disassociate any phone numbers from one service to another:
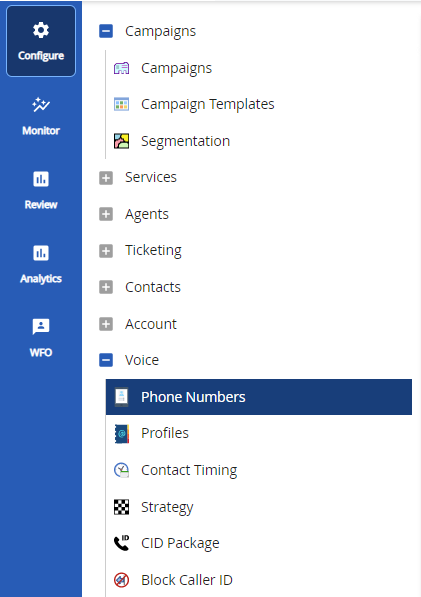
- Navigate to the Phone Numbers editor by selecting Configure > Voice > Phone Numbers from the Navigation Panel:
- To view the numbers in the specific LCID package, use the search function available under the General tab. Select the required LCID package from the LCID Package drop-down list and any other search parameters (Filter, Search By, Number Type, and Status):
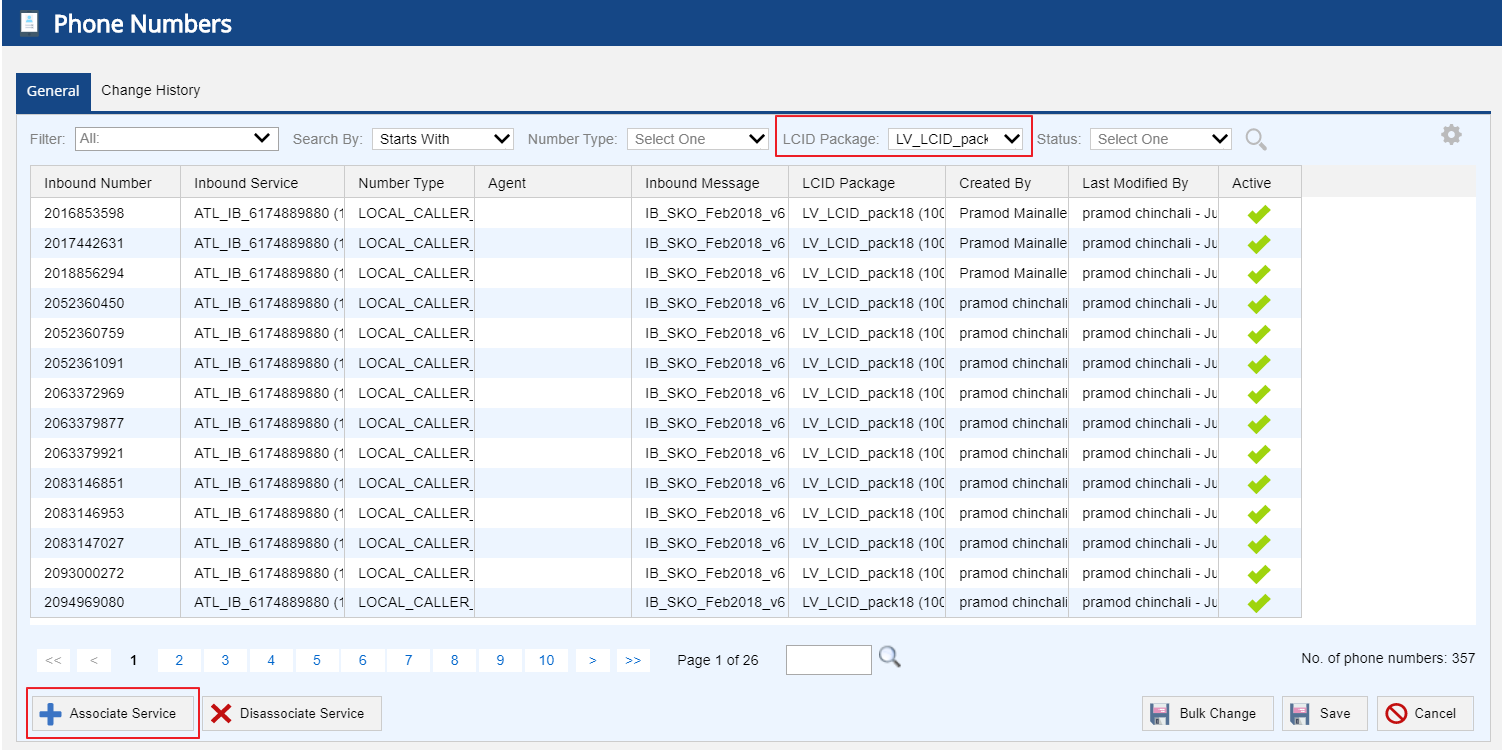 U17 Phone Numbers Editor
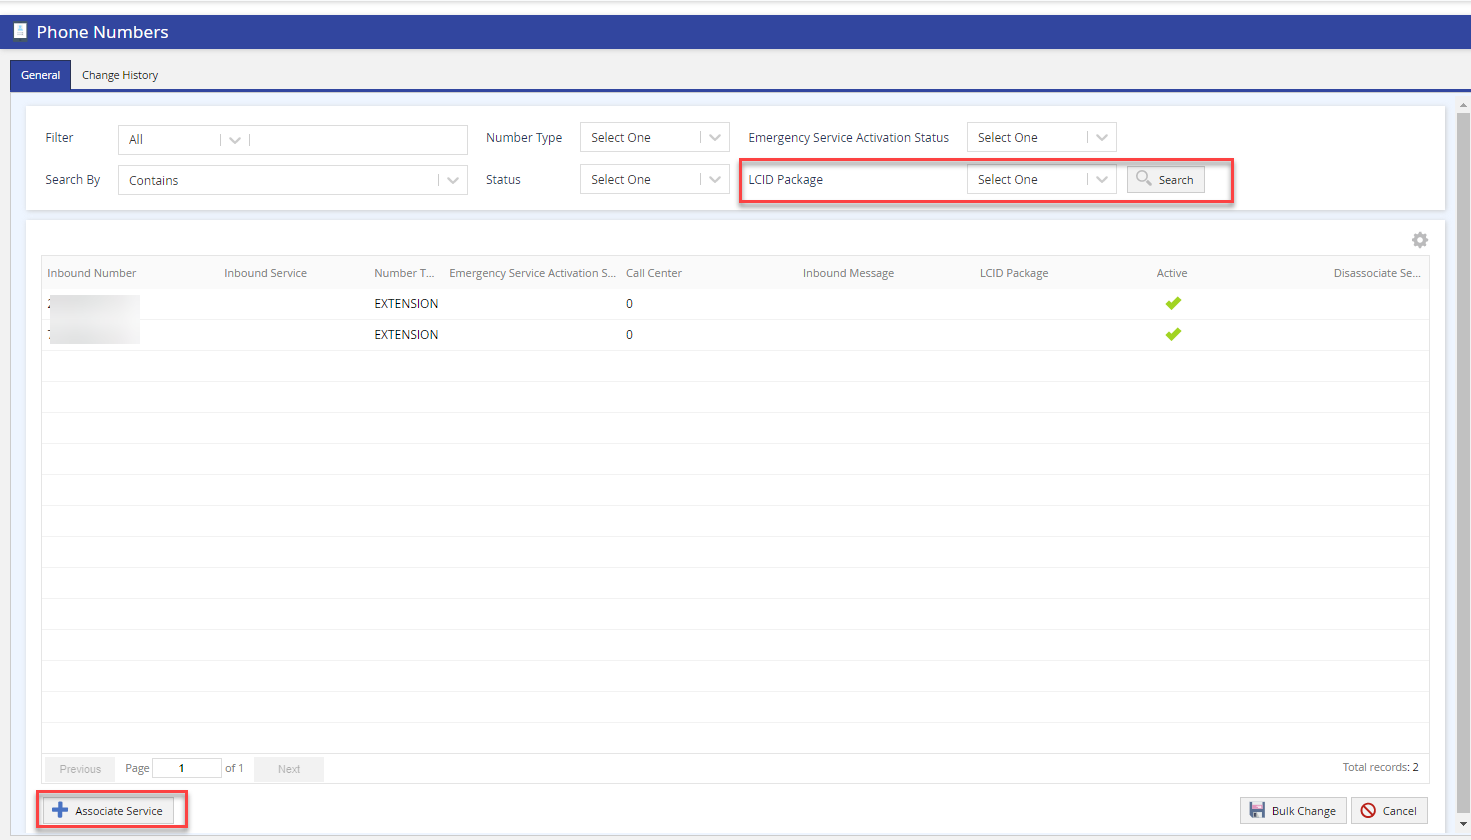 LV19 and Fall 23 Phone Numbers Editor
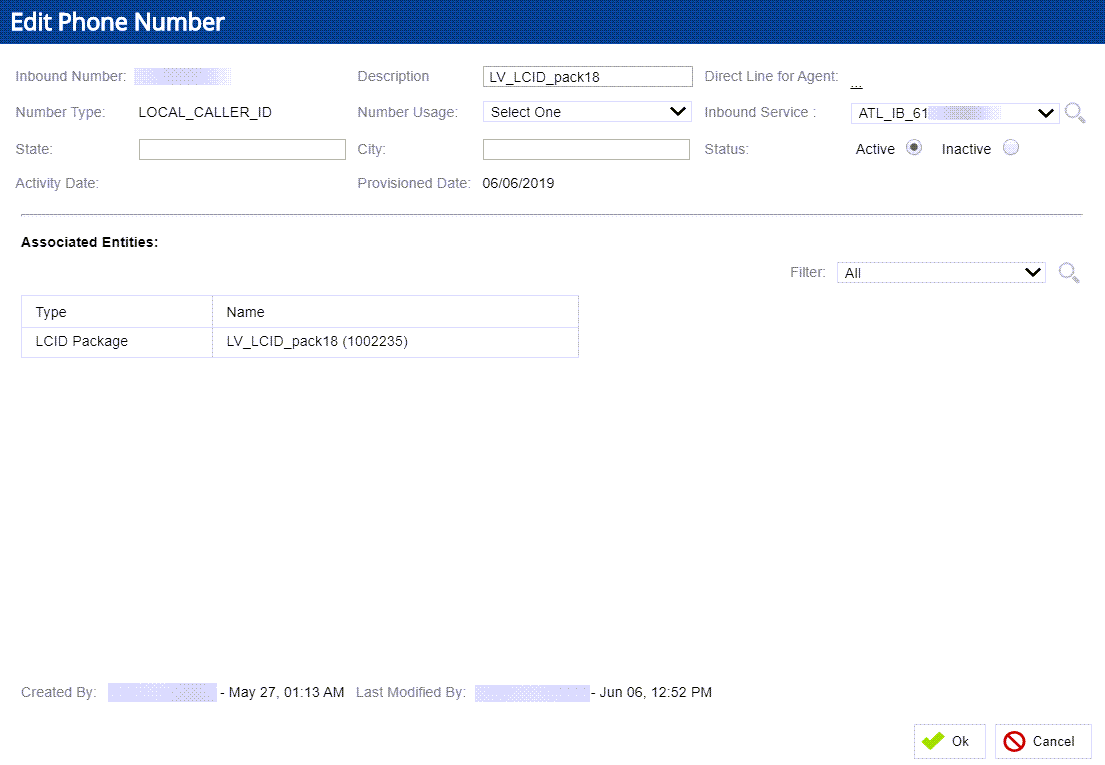
To update the associated Inbound Service, Description, Direct Line for Agent, Number Usage, State, City, and Status of the inbound phone number, double-click on the inbound phone number row to open the Edit Phone Number screen, as shown below, and update the parameters as required.
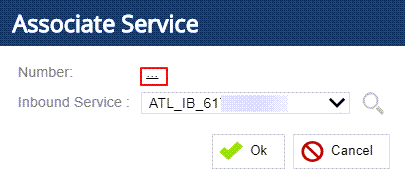
- To reassign an LCID package to a different inbound service, select the Associate Service button on the Phone Numbers editor screen. The Associate Service window appears:
- Search for the LCID Package by clicking on the Number link. The Select Numbers window appears:
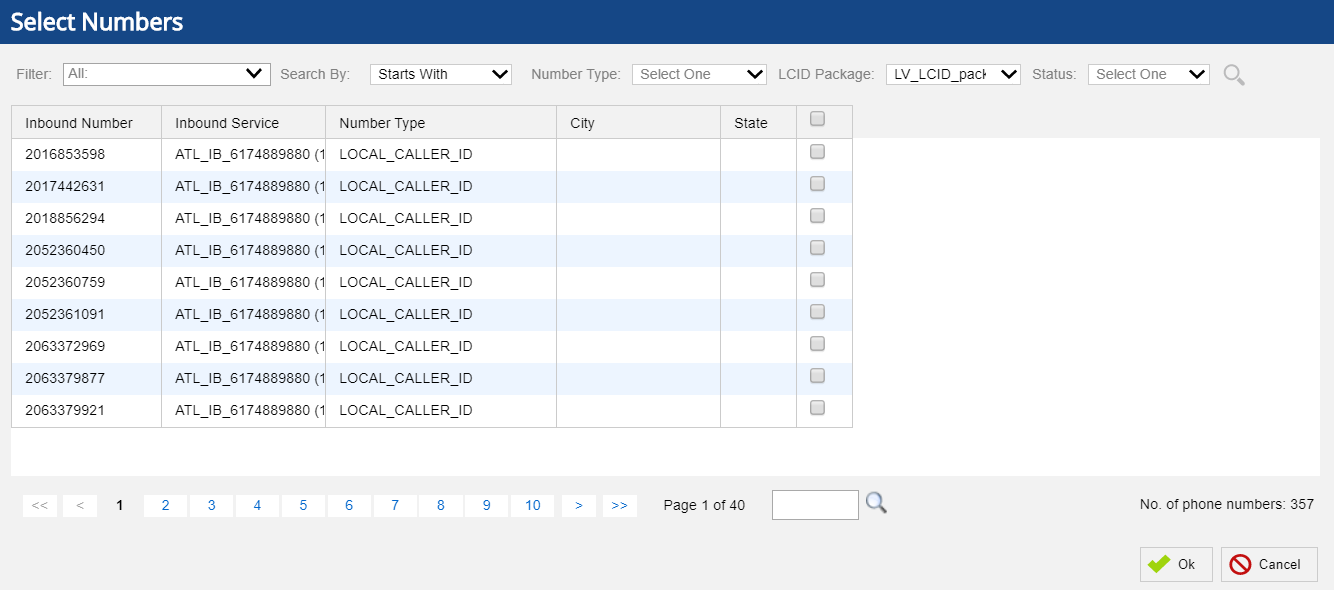 U17 Select Numbers Screen
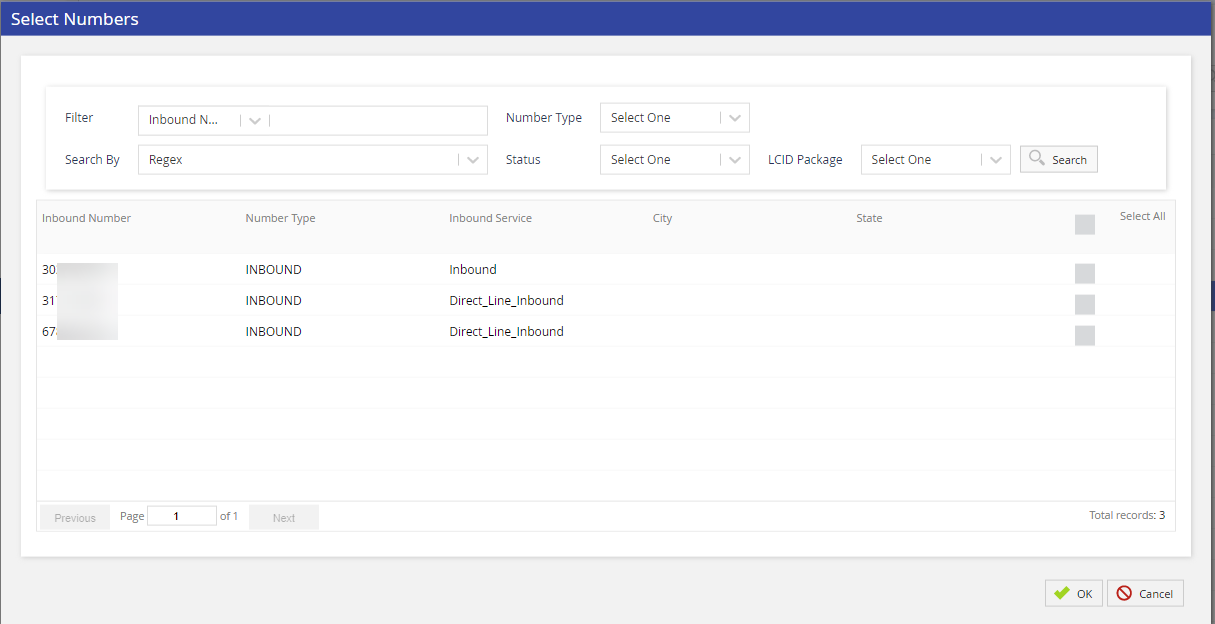 LV19, Fall 23, and Spring 24 Select Numbers Screen
 - To associate another service with the LCID package/inbound number, select the corresponding checkbox and click Ok.
- Select the required inbound service from the Inbound Service drop-down menu:
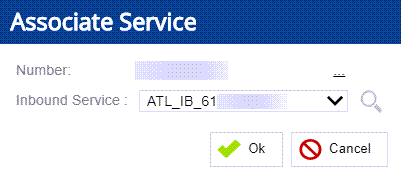
- Click Ok to associate the service.