This article describes the basic, high-level procedure to create a chat bot and to assign the bot to a chat widget.
Before You Begin
Ensure that your LiveVox Bot account is set up and you have created a password for your account. For assistance, contact the LiveVox Customer Care Team.
Creating a Chat Bot
To create a chat bot:
- Log in to LiveVox Bot.
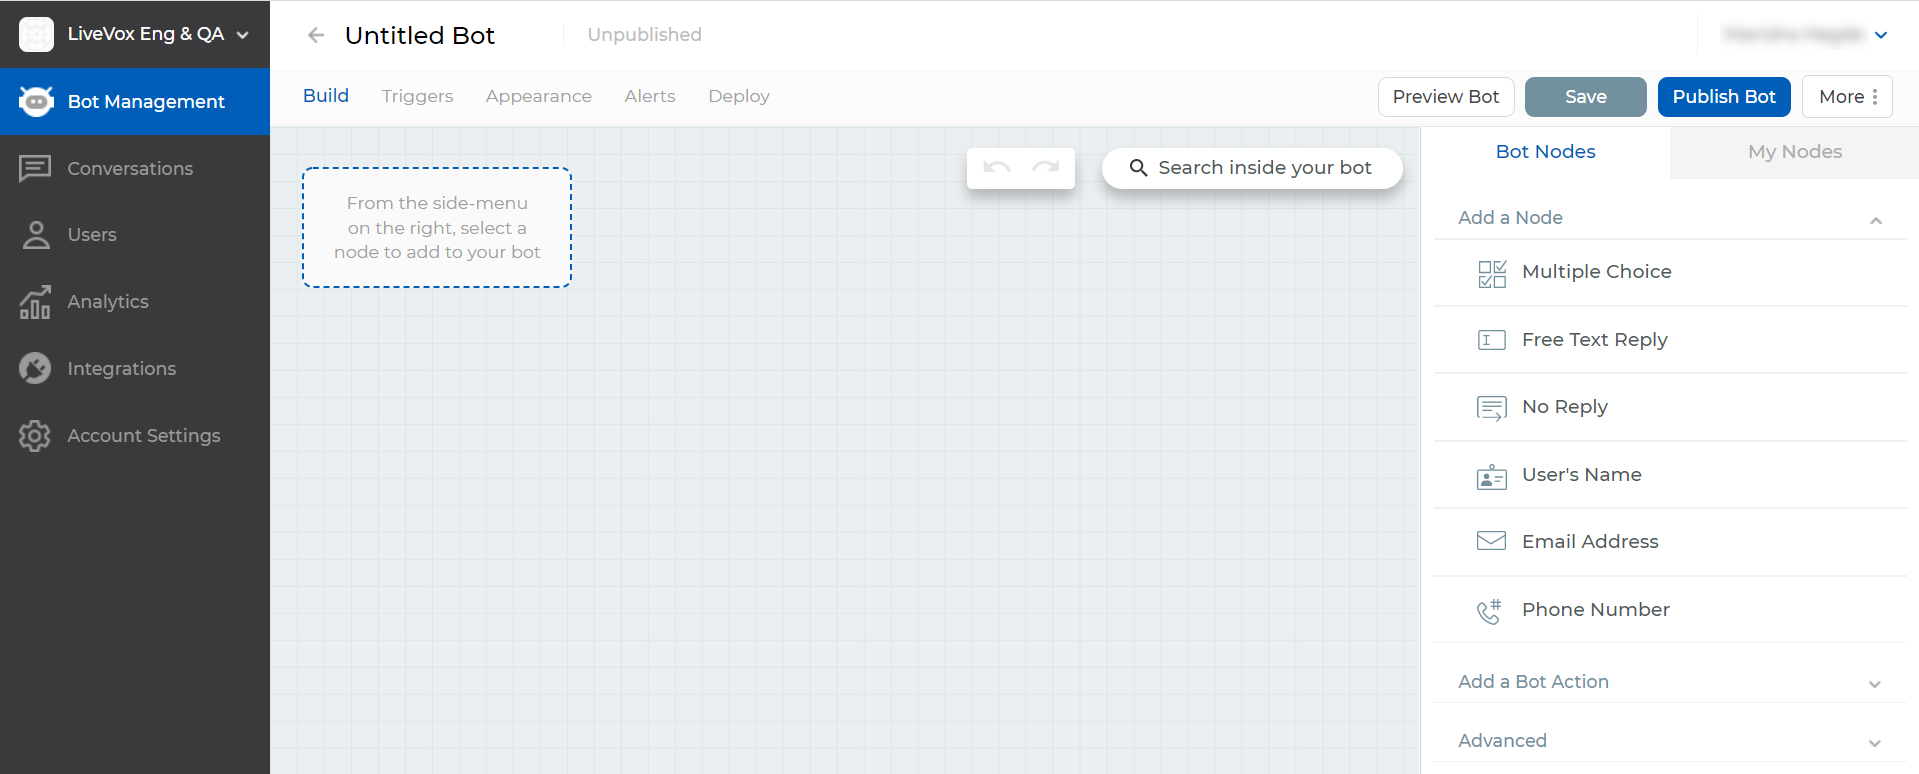
- In the Bot Management window, click New Bot.
The Build tab appears.
- Above the Build tab, enter a name for the bot.
- On the Bot Nodes tab (right pane), on the Add a Node menu or the Advanced menu, select the required node, and then specify its characteristics.
- Click Add Node.
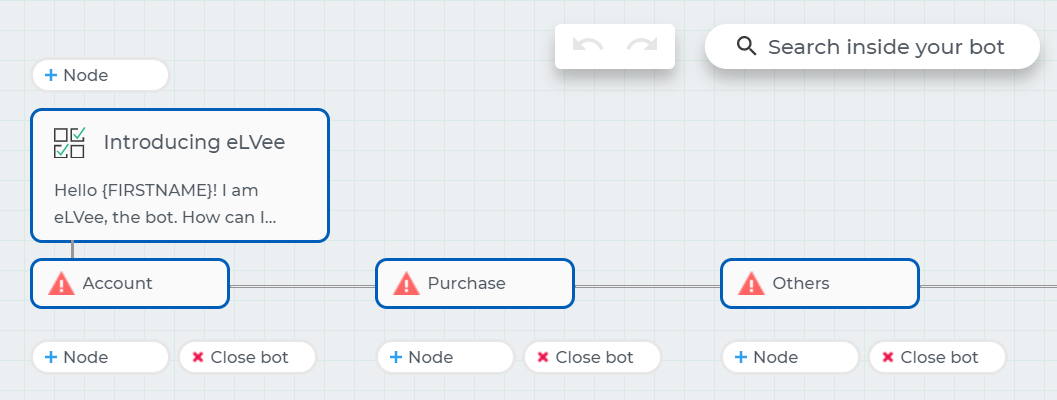
The node appears on the Build tab.
- To add another node:
- On the Build tab, click Node next to the node from which you want the new node to originate.
The Bot Nodes tab appears (in the right pane).
- Perform Steps 4 through 7.
The new node appears on the Build tab.
- On the Build tab, click Node next to the node from which you want the new node to originate.
- Click Save.
The bot is created. - Click Publish Bot, and then click Confirm.
The bot is published.
Assigning the Chat Bot to a Chat Widget
LiveVox will assign the bot that you created to a chat widget and deploy the bot on your website so it can be used by your customers. If you have created another bot and want to deploy it instead, or if you want to deploy an additional bot, see Deploying a Bot in the Product Documentation.