Contact Us

  • Product Documentation Library (PDL)
  • Developer Portal (API)
  • SmartReach Learning
  • System Status
  • Login
  • Home
  • Administrator
  • Chat

Configuring Welcome or Out-of-Office Messages

Contact Us

If you still have questions or prefer to get help directly from an agent, please submit a request.
We’ll get back to you as soon as possible.

Please fill out the contact form below and we will reply as soon as possible.

Table of Contents

Before You Begin Procedure

You can define the online messages and offline messages that appear on a web widget when a customer visits your website.


Before You Begin

  • Ensure that the Inbound Chat message field of the services to which you want to route a chat (that is, chat services) contains a message template.
    Delete

    The Inbound Chat message field appears on the Settings tab of the Services window. This window appears when you click Services > Services on the Configure tab.

  • Ensure that the Chat Routing Token field of the chat services contains a value that indicates a routing token/department to which you want to route a chat (for example, Banking, Billing, Collections, or Support).

    Delete

    The Chat Routing Token field appears on the Settings tab of the Services window.

  • Ensure that the chat channel is enabled for the agents who are assigned to the chat services.

    Delete

    The option to enable the chat channel appears on the Info tab of the Agent Details window for an agent. This window appears when you click Agents > Agents on the Configure tab and then double-click the row (in the Agents window) displaying the attributes of the agent.

Procedure

To configure welcome messages or out-of-office notifications:

  1. Log in to the LiveVox Portal.
  2. On the Configure tab, click Web Widget > Widget. 
    The Web Widget window appears.
  3. Click Add a New Web Widget.
    The Web Widget Detail window appears.
  4. Click the Chat tab, and then specify values in the following fields:
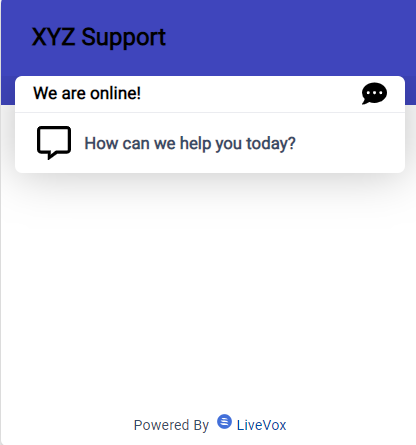
    • Online Header: Enter the title that you want to be displayed on the chat widget during your business hours (that is, the days and the period for which you enabled the chat channel).
    • Online Greeting: Enter the greeting that you want to be displayed on the chat widget during your business hours.
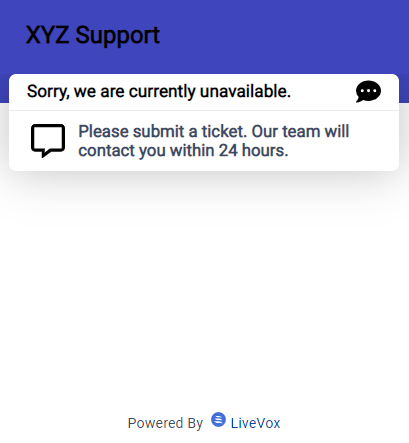
    • Offline Header: Enter the title that you want to be displayed on the chat widget outside your business hours.
    • Offline Greeting: Enter the greeting that you want to be displayed on the chat widget outside your business hours.
  5. Click Save.
Delete

For information about the other fields on the Chat tab, see Chat Widget Fields.

welcome configure

Was this article helpful?

Yes
No
Give feedback about this article

Related Articles

  • Setting Up Proactive Chat Rules
  • Setting Up Predefined Responses for Chat
  • Understanding the Chat Monitoring Options
  • Configuring a Chat Widget
LiveVox Fall 2023 Release

About SmartReach

SmartReach a next-generation contact center platform that powers more than 14 billion interactions a year. By seamlessly integrating omnichannel communications, CRM, AI, and WFO capabilities, the Company’s technology delivers an exceptional agent and customer experience while reducing compliance risk. With 20 years of cloud experience and expertise, LiveVox’s CCaaS 2.0 platform is at the forefront of cloud contact center innovation.


Privacy Policy | Terms of Use

© Copyright 2025 | LiveVox. All rights reserved

Knowledge Base Software powered by Helpjuice

Definition by Author

0
0
Expand