Enabling Call Acceptance Feature in Agent Desktop
What to do if agents are receiving calls with no warning
Table of Contents
LiveVox offers a variety of potential settings options for an agent's experience during an inbound call. A common complaint amongst agents in the LiveVox platform is that their Agent Desktop window is not offering any sort of warning or visual cue that they are receiving a call from a customer.
Example
Andy is in a Wrap-Up state after finishing a phone call. As soon as he changes his agent state back to Ready, he is immediately put into another call without warning. He's frustrated because he had an important outbound call to make to a customer and now must deal with a new inbound interaction. He thinks something is wrong with his Agent Desktop and escalates his complaint to his superior.
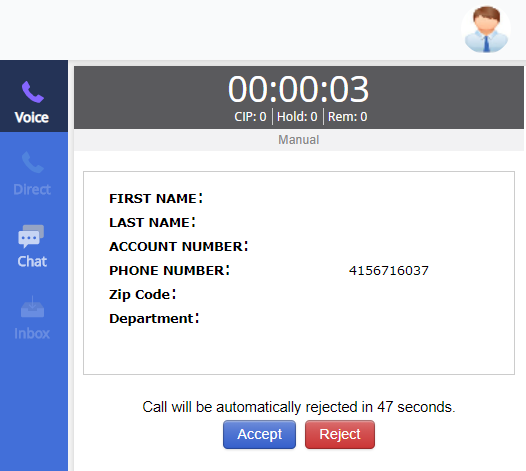
In the scenario detailed above, nothing is actually broken with Andy's desktop. It's simply that the Call Acceptance feature is not enabled. Call Acceptance allows agents to see a prompt on their screen during an inbound call, allowing them to Accept or Decline the call:
Enabling Call Acceptance
Although the Agent Desktop is not technically broken, "fixing" your agent's problem is as simple as enabling the Call Acceptance feature. We've provided some steps on how to do that:
- Call Acceptance settings are tied to a Service, meaning that if an inbound call is received on a Service that has Call Acceptance enabled, your agent will receive the prompt. The setting is not agent-specific.
-
To enable the setting for an inbound service, navigate to the Configure tab in the LiveVox Portal (LVP), select Services, navigate to the Service you would like to change, and select the Settings tab. Click the checkbox enabling the setting:
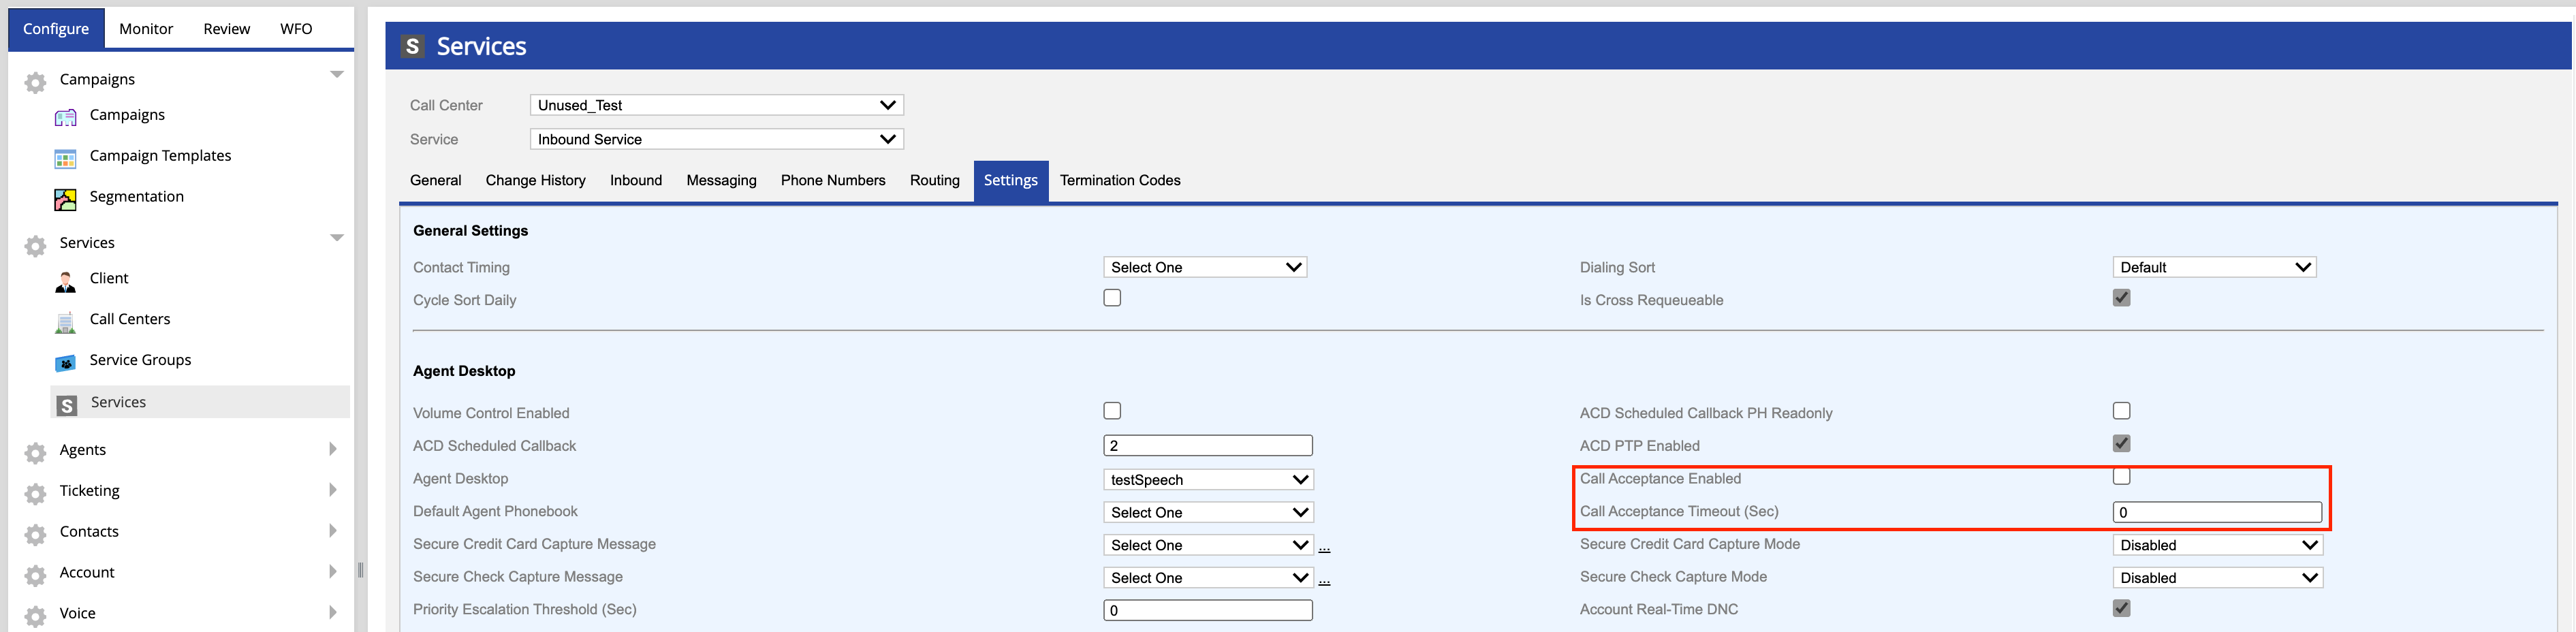
- You'll notice the Call Acceptance Timeout (Sec.) setting below the checkbox. After Call Acceptance is enabled, you'll want to designate how long an agent will have to accept the call before the call is passed to another agent (and the original agent being put into a Not Ready state). Enter a value into this field based on your preferences.
If after enabling this setting your agent is still not being prompted to accept or decline an inbound call, contact our LiveVox Customer Care team for further diagnosis.